Whether it's for a birthday, Christmas, housewarming, anniversary, wedding, or any other special occasion, gift-giving is an opportunity to express your feelings. As a mother of adult sons who have children of their own now, I'm constantly challenged on gift choices. Although gift certificates are a one-size-fits-all needs sort of present for adults, they don't hit the spot for young kids. For grandparents, buying toys for young ones is fun but puts parents in a tough spot when the little ones have more toys than hours in the day to play with them. Year after year, the answer I'm met with when asking parents, “what should we buy for Little Johnny and Little Suzie this year?” is “nothing please because they already have too much as it is.” So this year, I landed on an idea that will remain my gift tradition for all our grandkids. I'm making each grandchild a personalized book for their birthday and will make a collection of stories about each child for one book that each grandchild will receive as a Christmas gift. The inspiration for this all started with a trip to Ocean Shore Printing in Rocklin. Here's how it happened
Page by Page
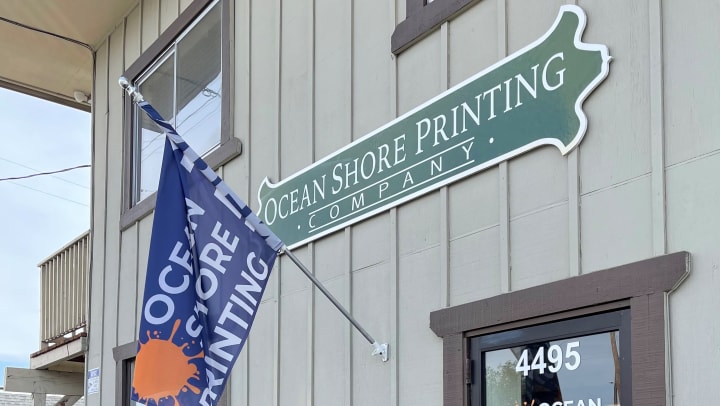
As I said, the inspiration for creating books came from a trip to Ocean Store Printing. I needed to print a few flyers for a project since I like to spread my business amongst locally owned shops. I asked around and learned that Ocean Store Printing is known for its exceptional customer service. While getting my flyers printed, I experienced that excellent customer service firsthand. As I was waiting, I noticed that Ocean Store Printing creates booklets and helps with graphic design; seeing all that paper and the menu of services sparked the idea of creating a book. And suddenly, inspiration hit me to make an heirloom gift for my grandkids page by page.
At Ocean Store Printing, I found everything I needed to create my first book. The variety of paper offered in various colors, weight, binding material, and the item required to finish the book's exterior with confidence that it will hold up to the test of little hands and time. While creating a book from start to finish may sound daunting, it can be done. Read on to learn how to create an heirloom book for your family and friends.
Print to Press
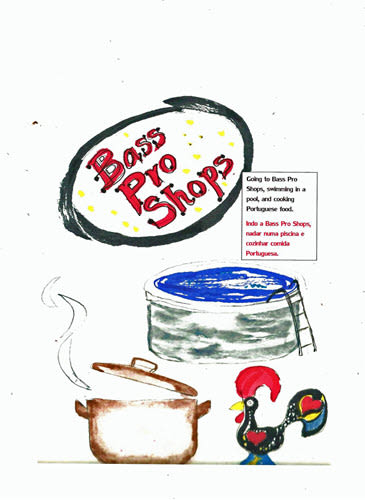
While my first visit to Ocean Store Printing created the inspiration for creating a book; it took more than one trip there to get what I needed to be gathered together. My first step was to write the story I wanted to share. My experience is tailored for a short story, a children's book; however, this can be adjusted for any story and book. My first book was about my young grandson's love of fishing. Once I created the story, it served as a template for the book, which then drove my supply list. My book had 18 pages, front, and back, plus a title and dedication page. Each page contained a simple paragraph with one photo or illustration. Most handmade books are 5" wide by 8 ½" high, created by folding pages in half and stacking them, so they are aligned with the folded sides put together and ready to sew.
The trickiest part for me was illustrating art that fit correctly on each side of the page. Once I got that recipe down, it was easy to print each page using the help of Ocean Store Printing. The next step was to attach the stack of pages. There are many ways to do this, but the one that seems most popular is to sew the spine together with a thick needle and thread. That keeps everything together while you glue the stack of pages onto the front and back of the book.
I chose poster board to create a softcover book that allowed me to illustrate the front cover easily. A very popular method is using cardboard or pressed wood covered with fabric for the front and back book cover. If you choose to use cardboard or pressed wood covered in fabric, you need to cover the exterior with fabric before attaching the pages to the cover. If you use a softcover as I did, it's one piece and doesn't require gluing fabric onto the cover. To attach the pages to the covers, you use either hot glue or wood glue by placing glue along the spine and laying it in the center of the book between the front and back cover.
The Secret to Success
The adage that patience is a virtue hits home with creating a handmade book. Allow yourself to rewrite the story a few times after reading it aloud. Don't be surprised if you get stumped with arranging illustrations and photos on a page along with words. While I know other programs probably can create a book using a template, I used Microsoft Word and created each page using a text box for words and inserting a photo or illustration next to the text box. Be sure to offer yourself plenty of grace for having to try and try again to get this step right.
Additionally, it sounds as if the most straightforward part would be gluing everything together, but that takes some practice in getting pages stacked and folded evenly. I recommend recycling previously used paper to practice getting everything stacked neatly and sewn tightly. Before deciding to use wood glue, I read several tutorials because of how paper and wood glue interact. It was much easier than hoping I had just the right amount of hot glue. When I had everything put together and pressed for 24 hours, I saw that all my patience had paid off. But it all would have been much harder if I didn't have the printing help of Ocean Store Printing! The staff there were great to work with, and I recommend using this wonderful little shop for all your printing needs.
Stanford Ranch Self Storage
There's no doubt that books are an important part of our lives. Whether for the materials needed to make your handmade books or for your prized collection of valuable books, having appropriate storage is important. Stanford Ranch Self Storage has units for all needs as your neighborhood self-storage facility and is the answer to your book-related storage. Our state-of-the-art facility has unit sizes to meet all needs, so visit us to see how we can be the perfect solution for storing your valuable books. We're open and practice social distancing, so please visit us soon.
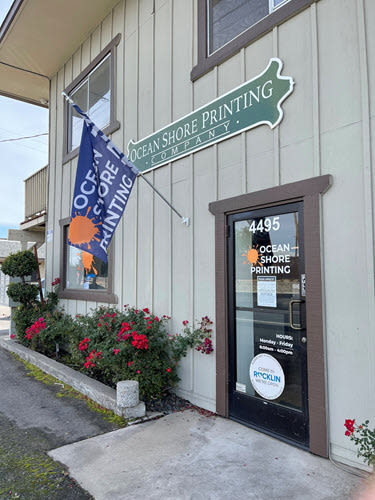
Ocean Shore Printing
4495 Pacific Street, Suite A,
Rocklin, California 95677
916.624.8234
Hours of Operation are Monday through Friday, 8am to 4 pm
Closed weekends.
https://www.oceanshoreprinting.com/